1949 Williams Star Series
This story begins several years ago when I was given the carcass of an old Williams baseball game. The backglass was in fair shape, the playfield was somewhat complete and the case was solid (although it did have many layers of dark green paint on it and most of the mechanical parts were missing). About a year later I had the opportunity to acquire another Star Series game, although complete, it had a bad backglass and the entire bottom of the case was rotten. What I have included below is how I went about grafting one case on to the other to make one good game. NOTE: some of the pictures are not for the faint of heart.
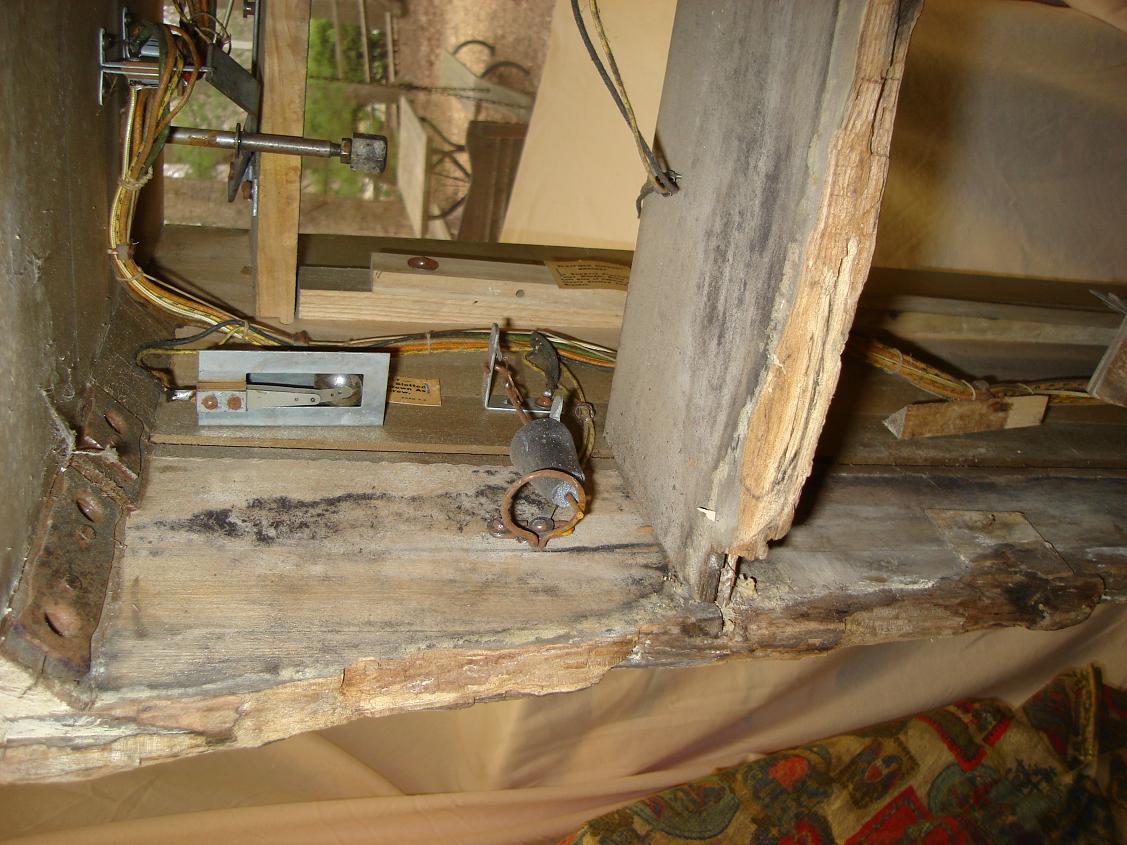
In the beginning -- the power of moisture:
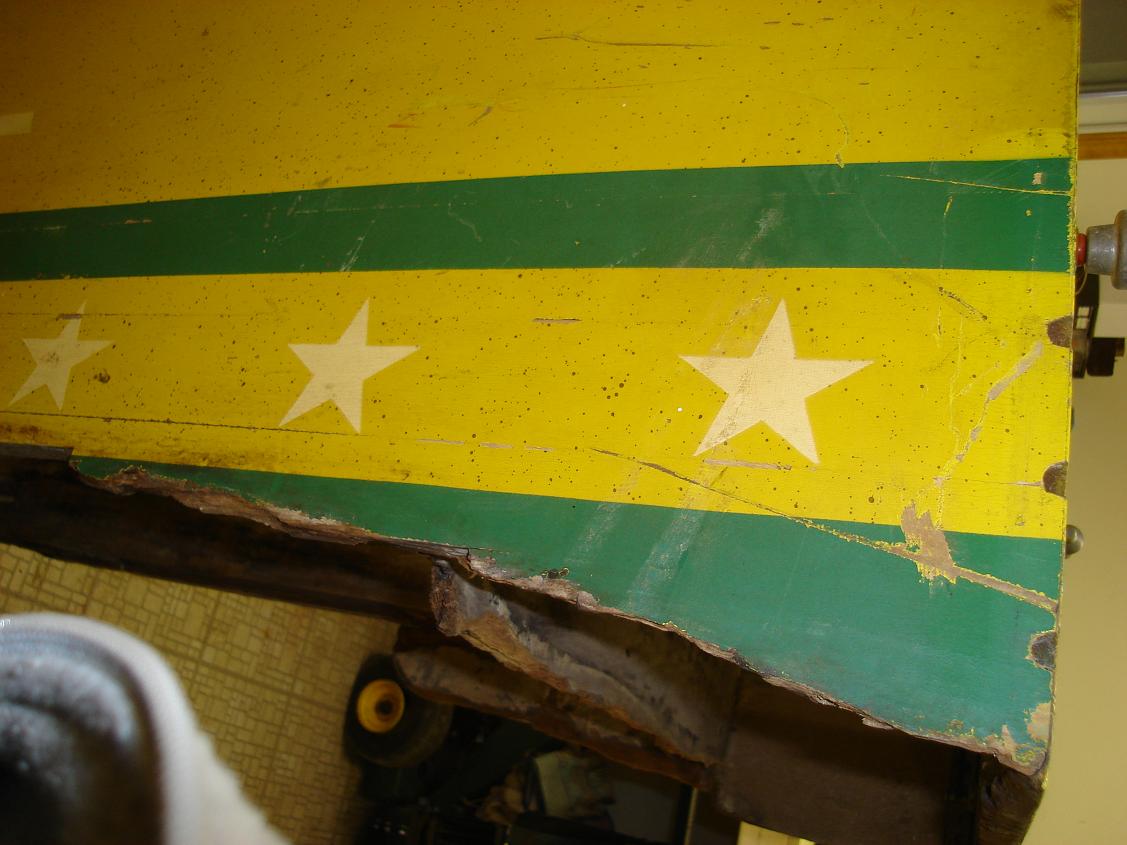
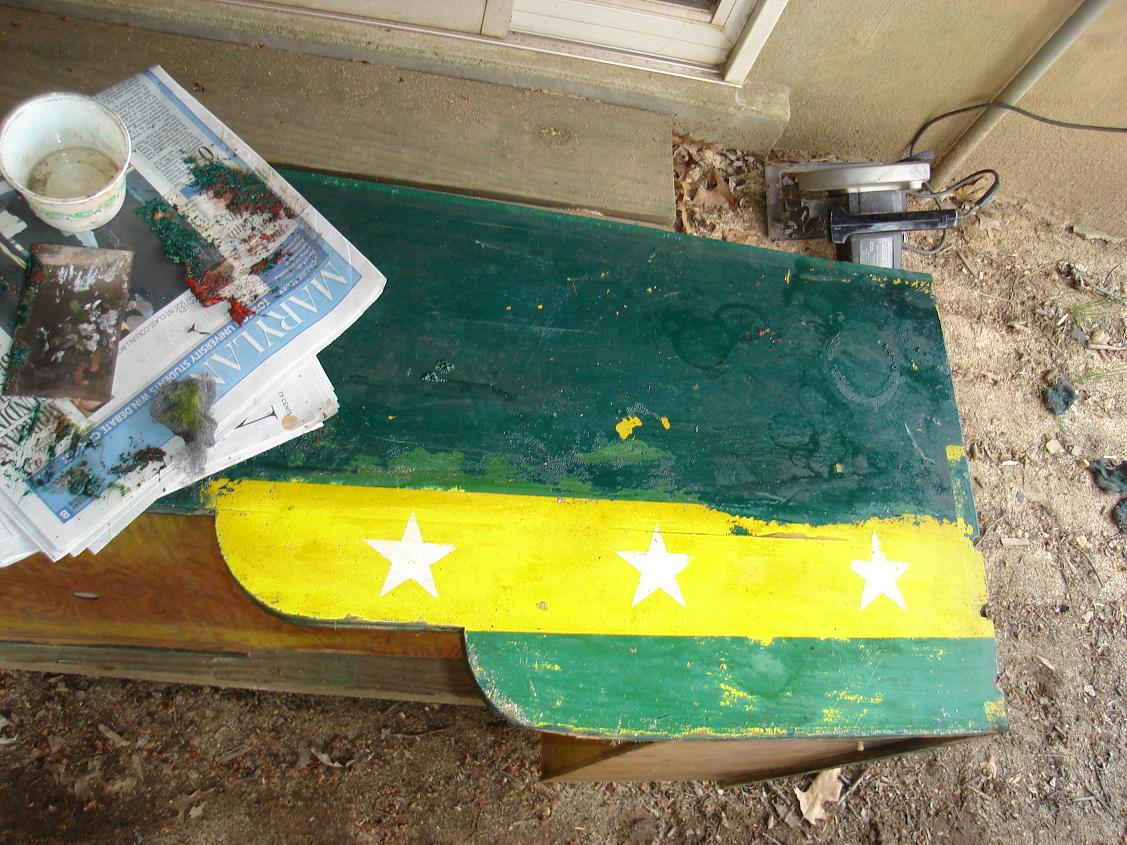
As can be seen in the above pictures, the bottom of the case was in pretty bad shape. The complete plywood bottom of the case was missing and much of the bottom perimeter was either soft or entirely rotten.
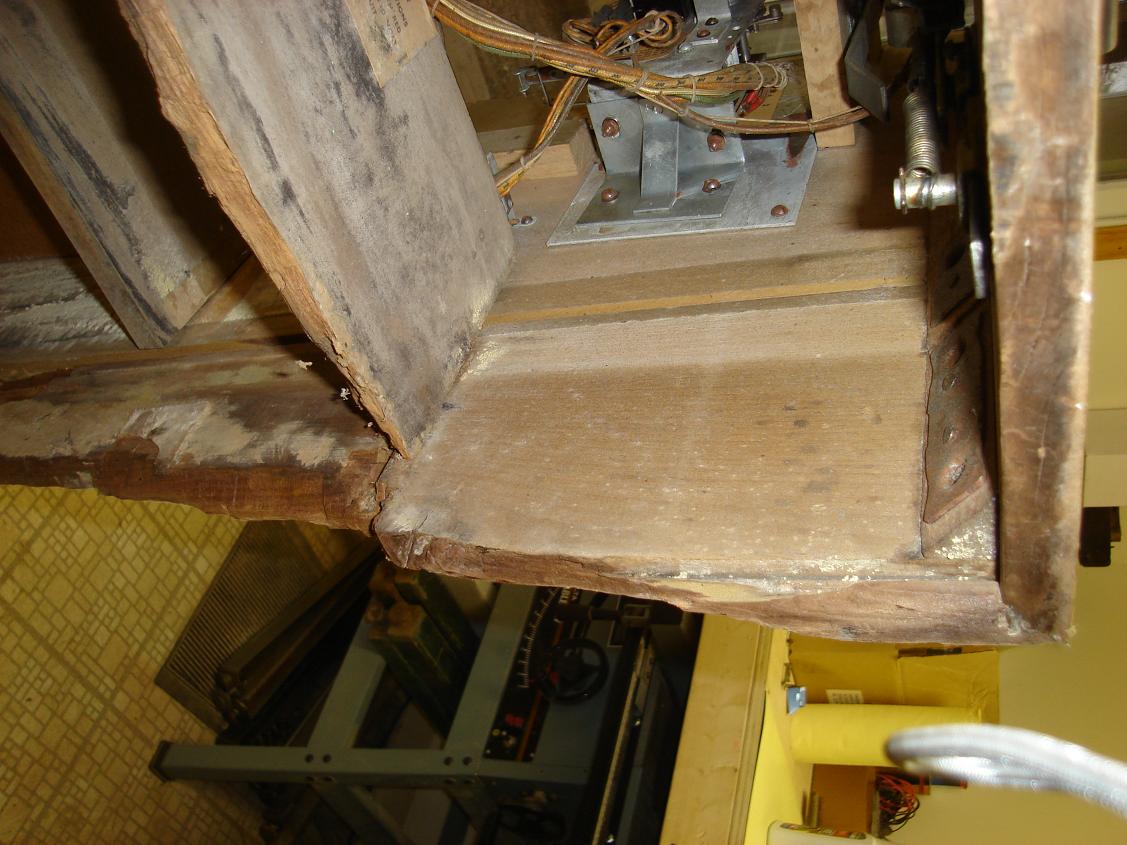
The transformation begins:
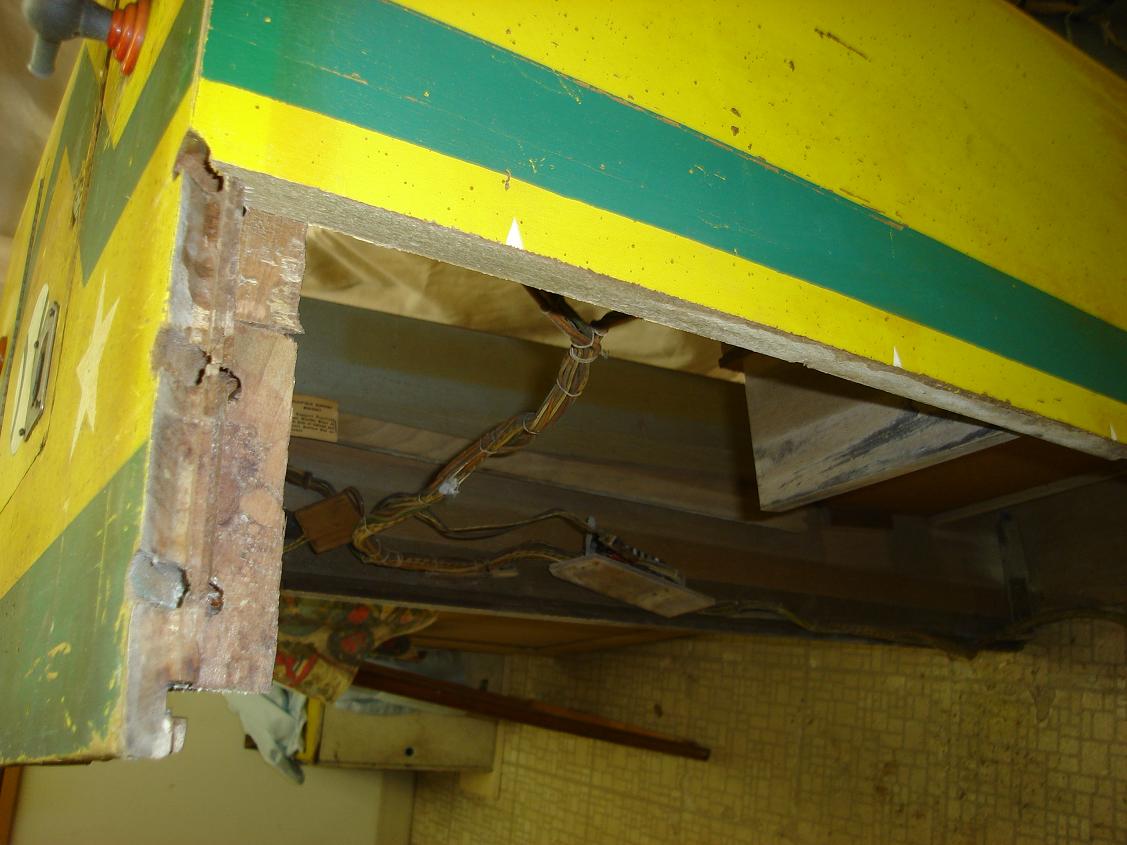
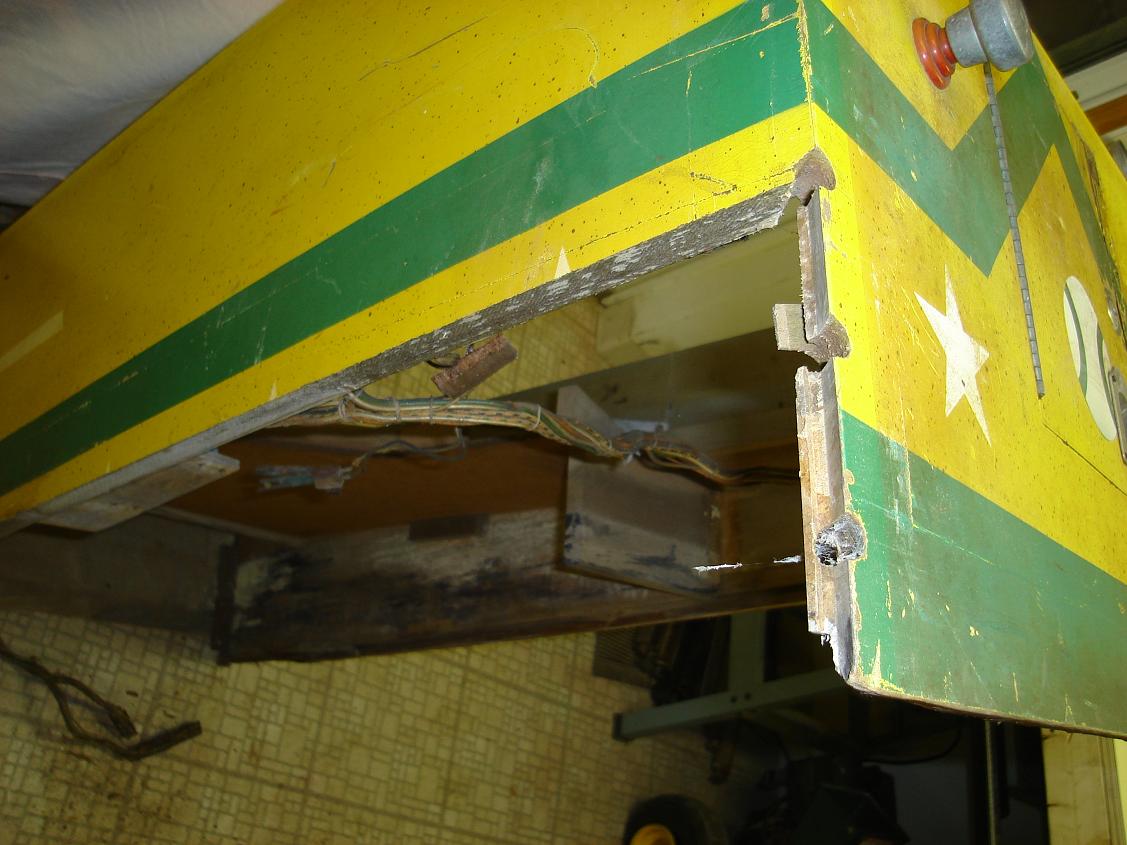
In assessing the case, I could see that the case was made of solid wood (popular) and that some of the lower boards had begun to split on the glue lines. With a little persuasion from a rubber mallet, the damaged pieces of wood were separated along the glue lines where I would insert the new portions. I did have to clean the original glue joints by scraping them with a sharp chisel.
The donor is prepped:

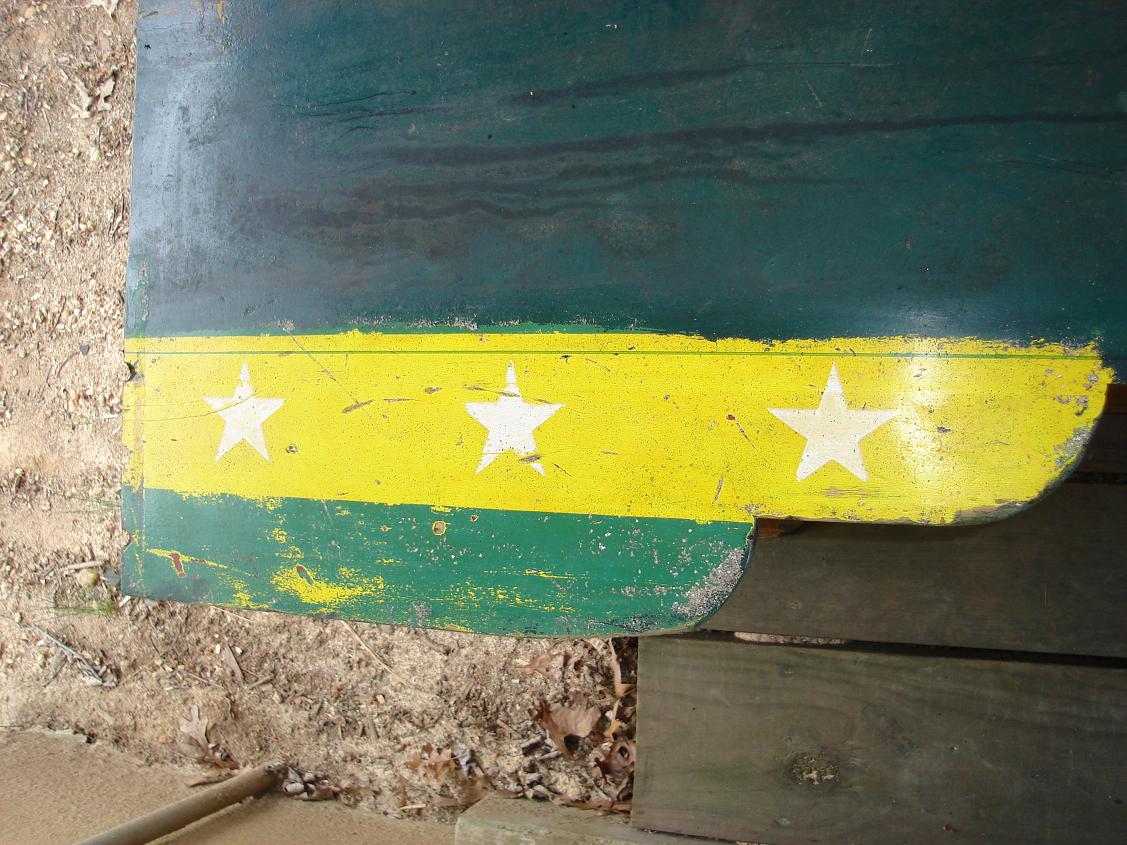
The donor case was another Star Series that had been painted a dark green and red. Using paint stripper, I carefully removed the multiple layers of dark green paint. I applied paint stripper and only left it on a short time so it wouldn't remove the original paint. Once I could see the original paint, I finished the paint removal with fine steel wool and lacquer thinner. To my delight, the original paint looked pretty good for having hibernated so long under the slopped on overcoat.
The donor part is removed:
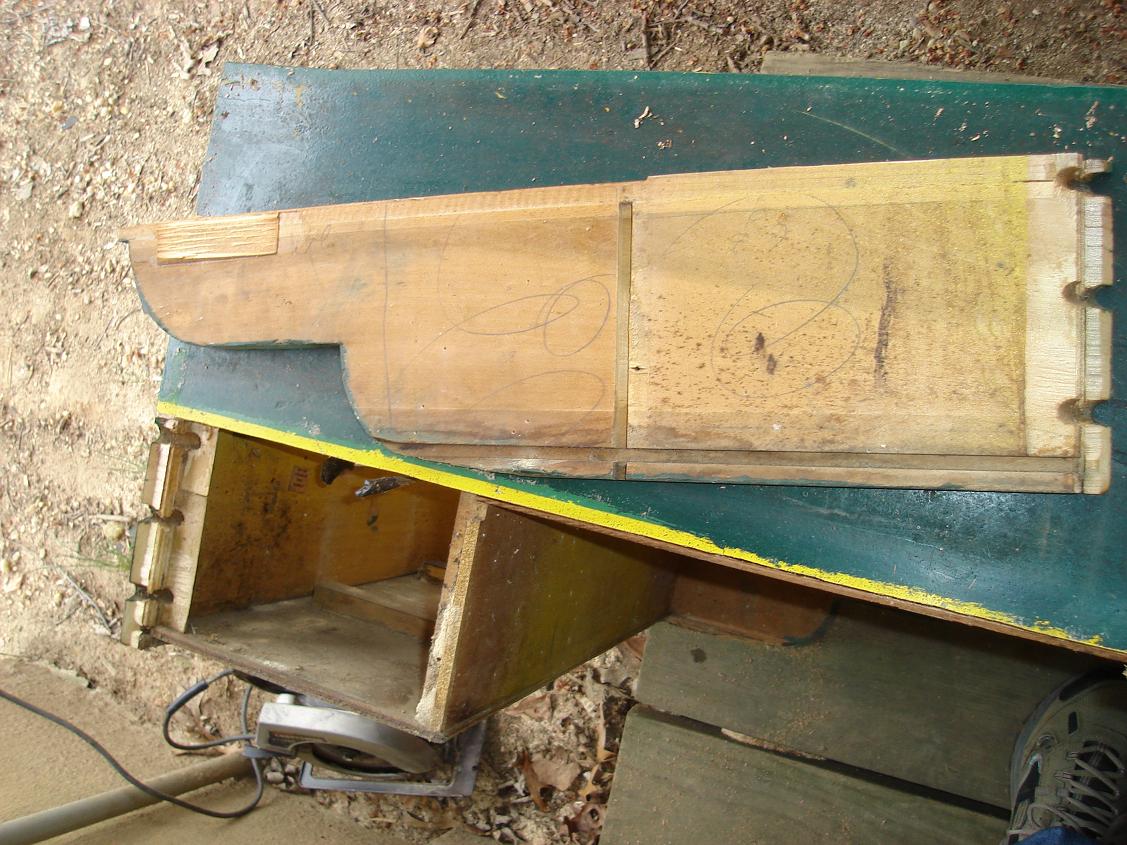
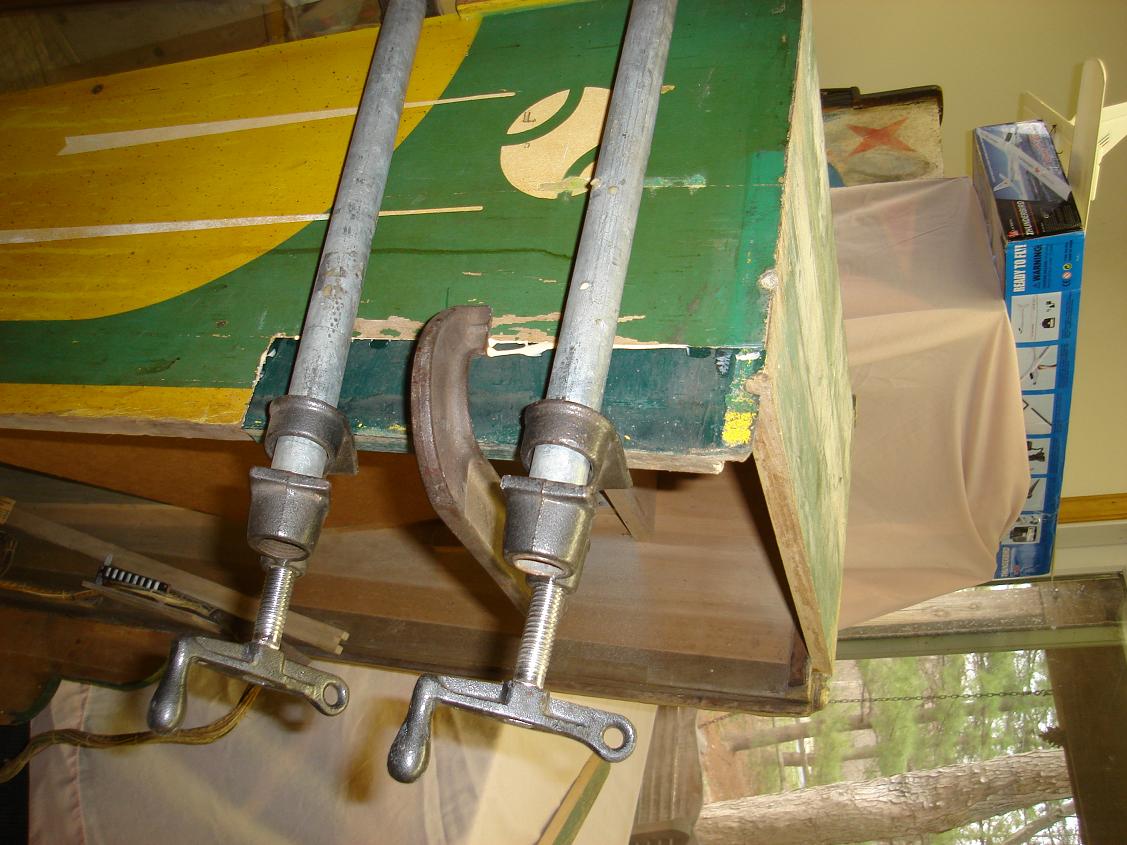
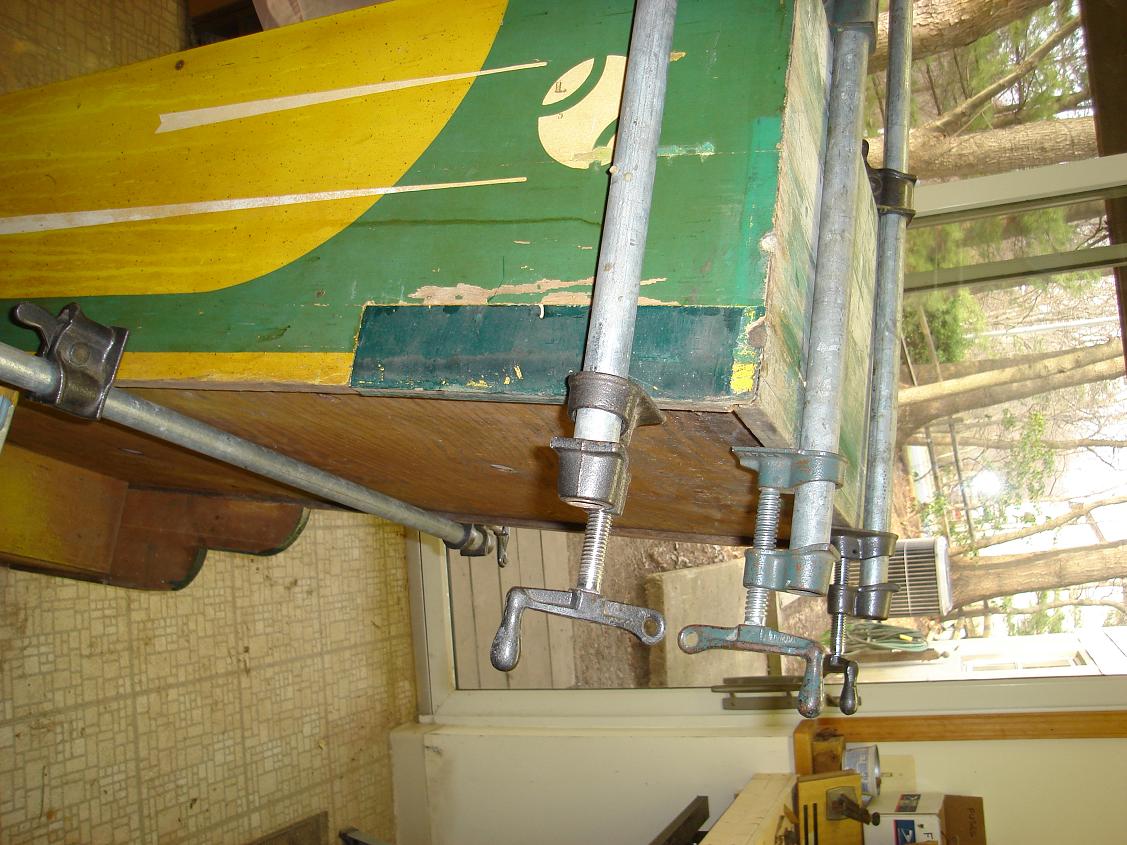
Using a felt tipped pen, I drew a line on the donor case from where I would cut the donor part. I drew this line about 1/4 inch larger then was needed. I used a regular hand held circular saw and cut the piece along the marked line. A little persuasion with the rubber mallet separated the needed piece from the case. I then took the donor part and checked to see how much wood I had to remove along the one edge to get a good fit. I used a power jointer to remove the excess wood. Using a jointer afforded me a straight piece of wood to make a neat and strong glue joint. When I got the piece to where it was a good fit, I cleaned up the corner joint for good glue adhesion. I made sure that everything fit nicely before I attempted to glue the side on permanently.
Let the gluing begin:
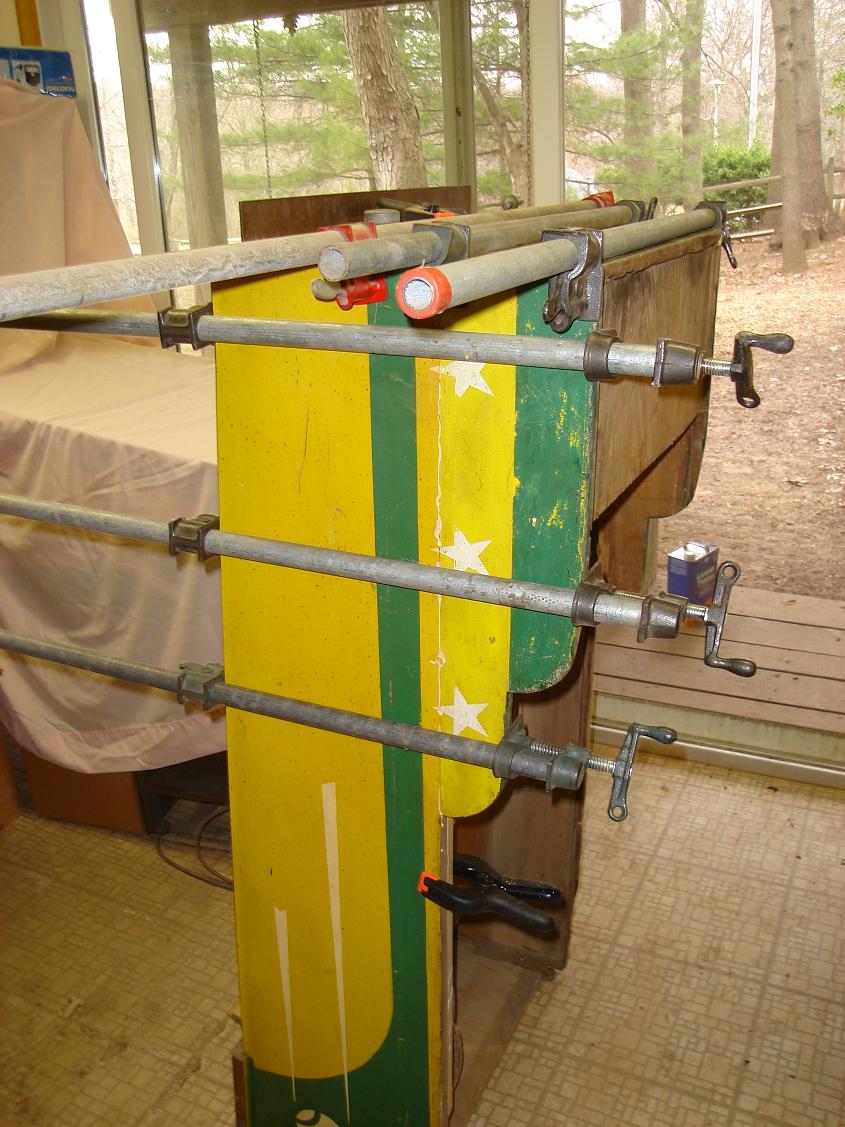
After a dry fit to make sure that the new piece fit nicely on to the case, I used white wood workers glue to insure a good glue joint. I put a thin layer of white glue on all surfaces to be jointed. I waited a minute or so for the glue to start to set up a little and then I jointed the two pieces together. I added clamps (this step is necessary for a strong glue joint) and left the game set for over an hour. I didn't worry about glue that expanded out of the joints because I would take care of that when I took the clamps off. Make sure when the clamps are added, that the pieces stay aligned and that the clamps are not too tight (you don't want all the glue to ooze out of the joint). Once I took the clamps off, I took a sharp chisel and removed all the excess glue that escaped the joint.
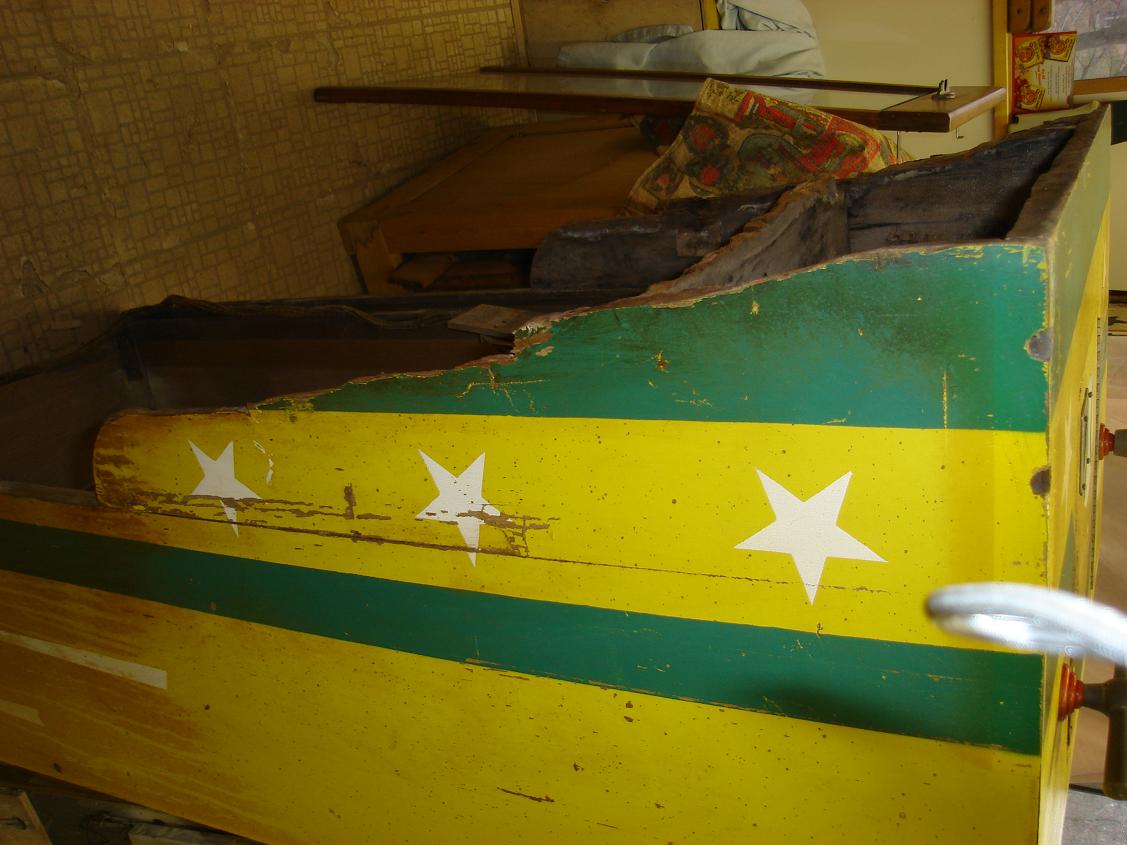
The front pieces are done:
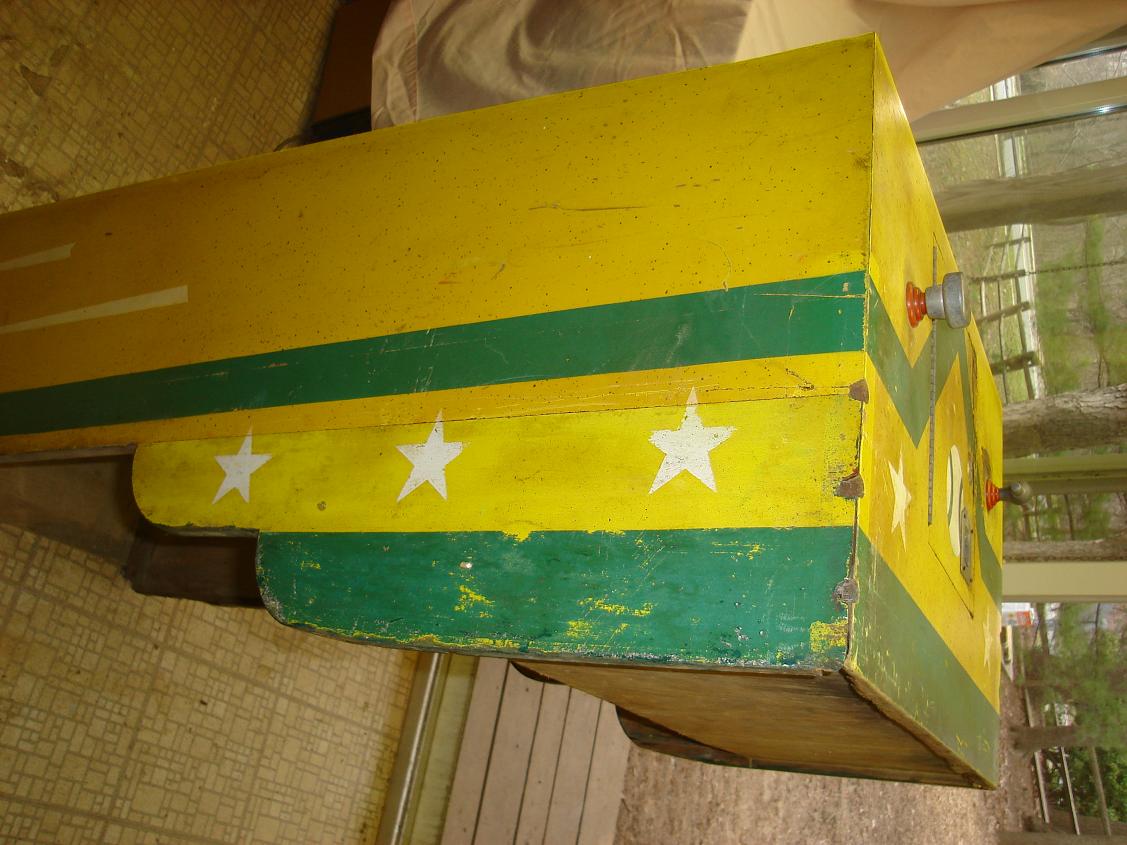
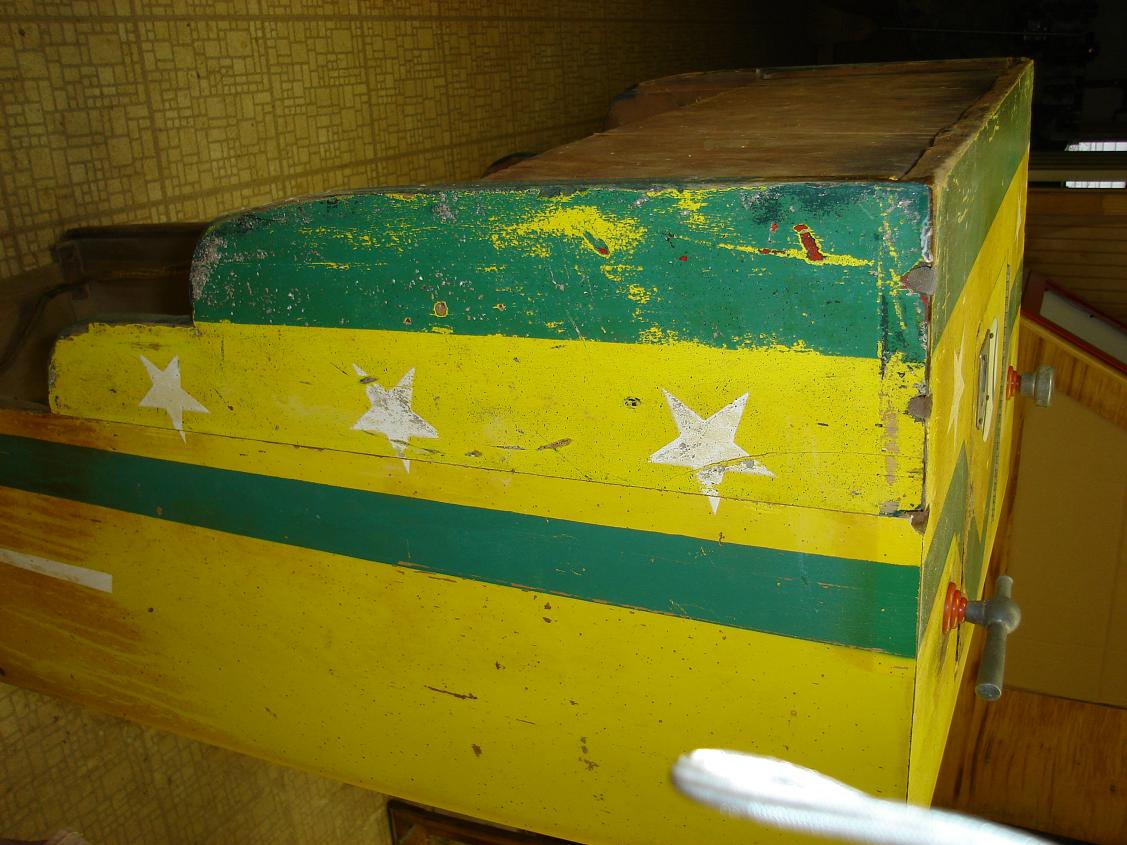
As can be seen from the two pictures, both sides were attached to the original case. During this time, the original short bottom piece of plywood from the donor was also added. I was happy to see that the colors were fairly close considering that the machines were probably built at different times. Also, the stars almost line up perfectly considering metal templates were probably used to spray the stars on.
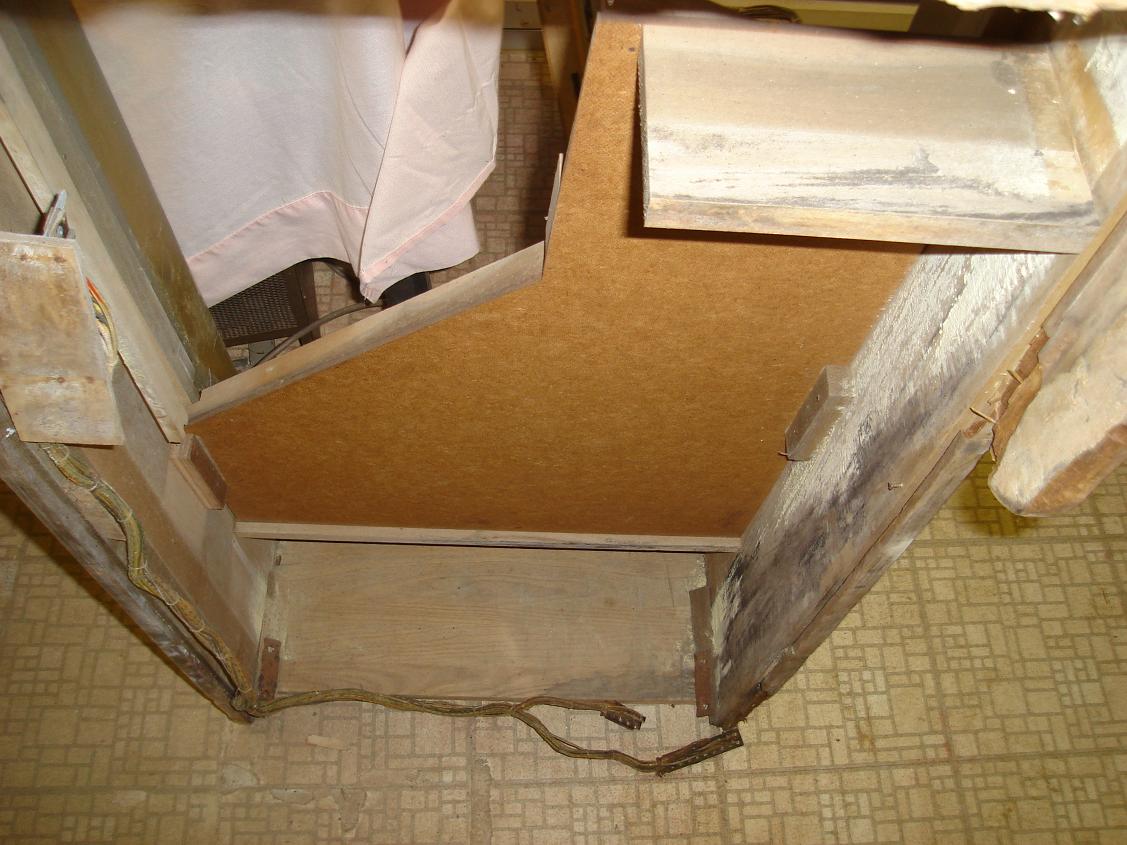
The back also gets some work:
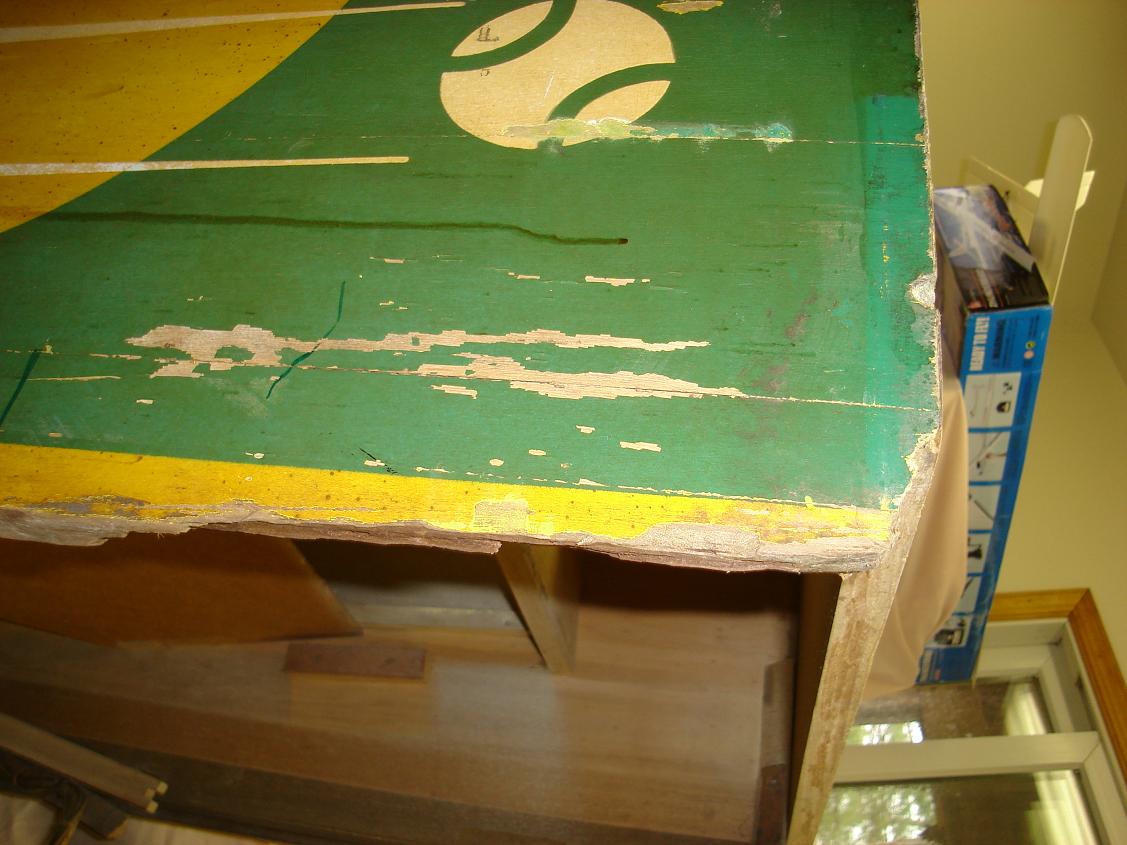
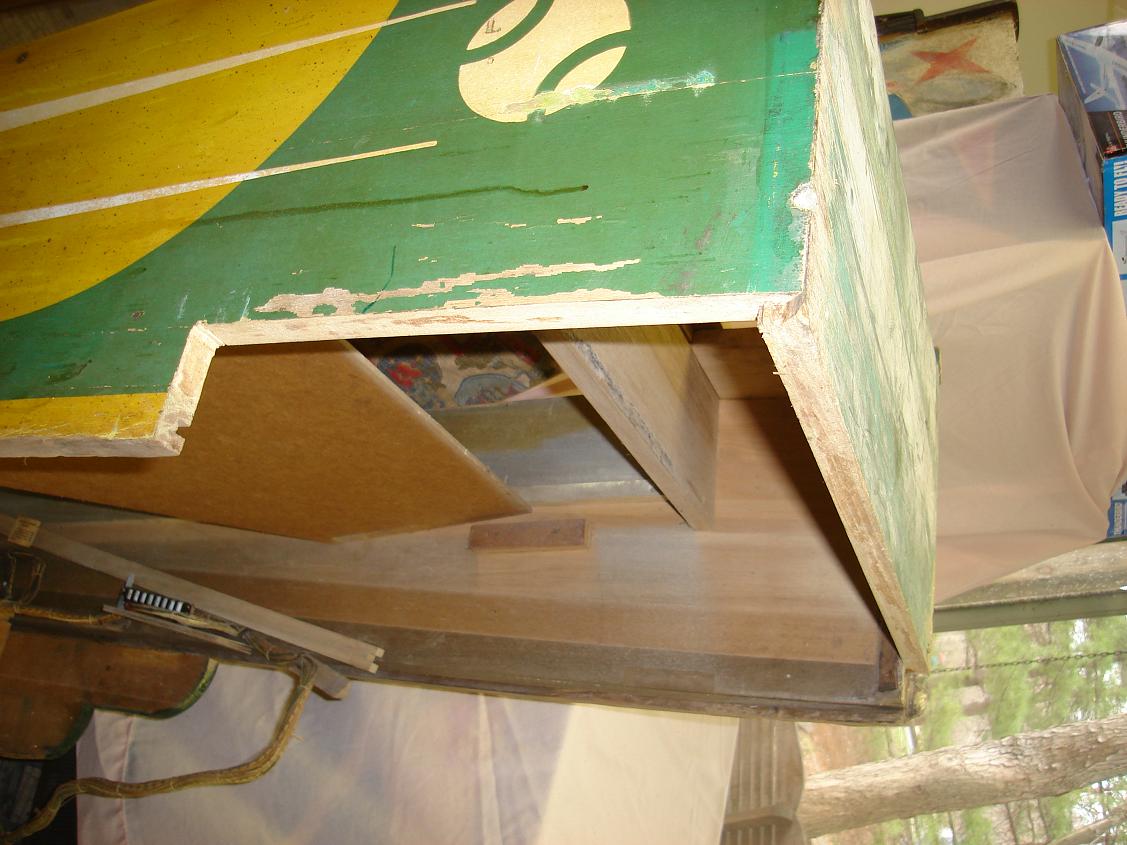
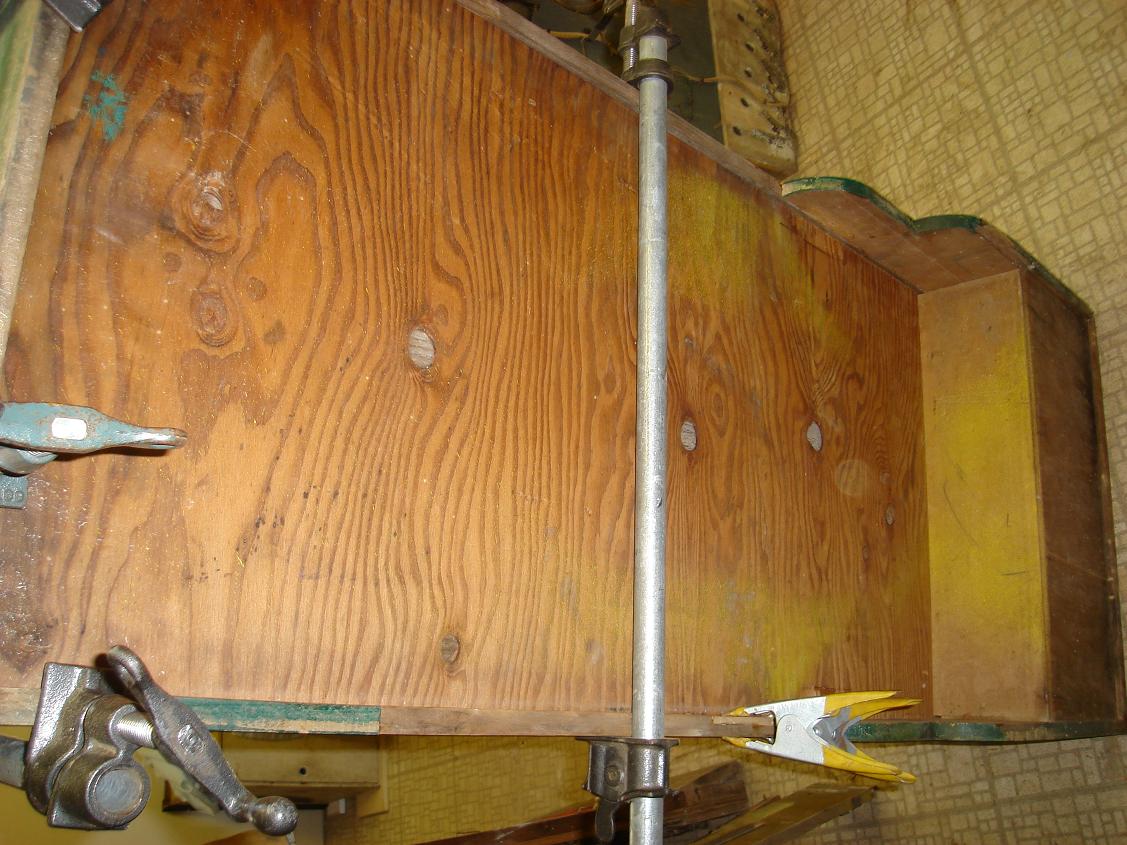
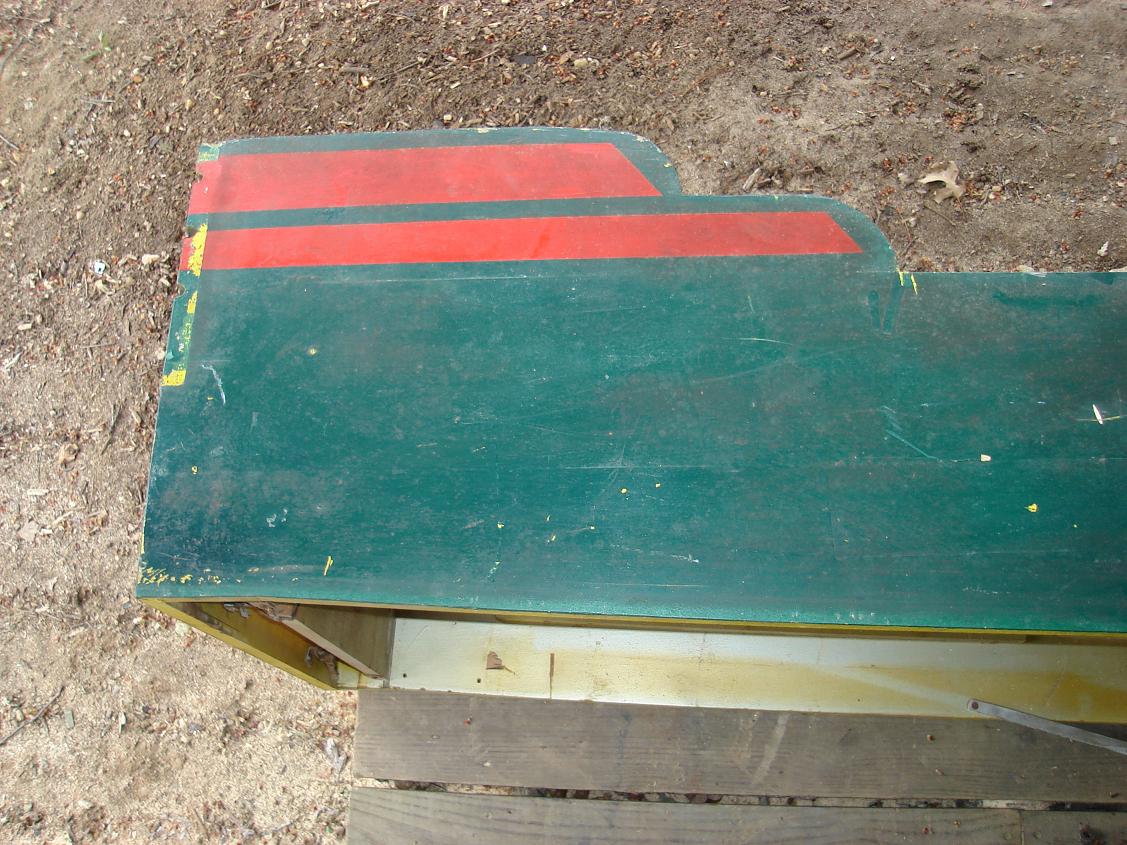
From the pictures above, it can be seen that the back of the machine also suffered some moisture damage. This included the one side and a section across the back of the machine. Just like in the front sections, I cut out the pieces along the factory glue joints. I did have to make a cut perpendicular to the glue joint on the one cut since I only wanted to replace a small section. I used the same process to clean up and glue the donor pieces on to the case. Before gluing the one piece on the very back of the case, the original plywood from the donor was inserted into the case. Small support blocks were added on the inside of the case as done from the factory.
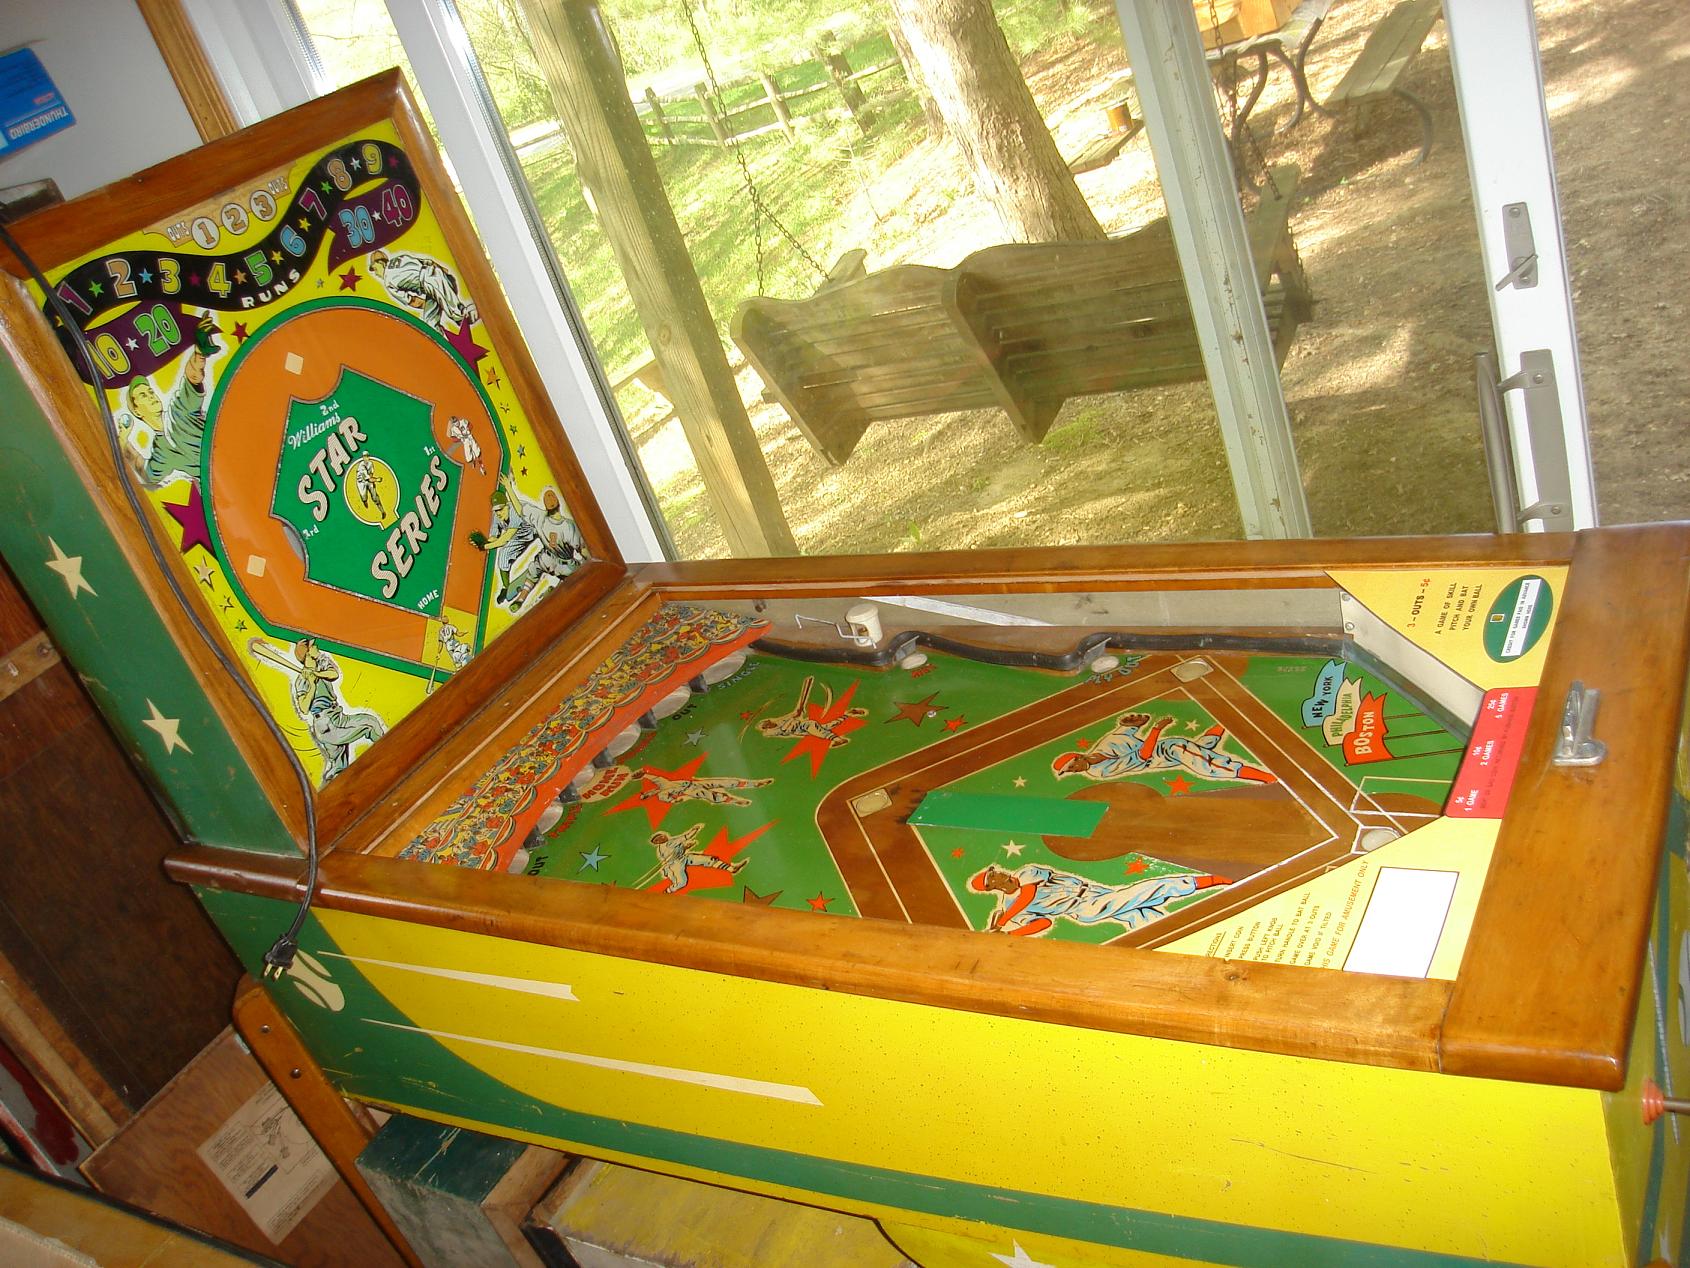
The finished product
From two machines destined for the scrap heap came a game that still has its original paint and will be enjoyed for many years to come....
Vintage Arcade and Pinball Games Home